The SALESmanago plugin for the Shoper platform is a comprehensive tool designed to integrate your e-store with the Customer Engagement system. This integration allows for the automatic synchronization of Contact data and purchase activities, enabling you to build advanced Workflow scenarios and personalize your communication.
1. Overview
By connecting Shoper with SALESmanago, you can automate key marketing processes and track user behavior in real-time. The integration includes the following functionalities:
- Automatic implementation of the Monitoring Code.
- Transfer of Contact data and order information.
- Real-time synchronization of newsletter subscription statuses.
- Support for the double opt-in subscription process.
- Transfer of External Events: CART and PURCHASE.
- Automatic assignment of Tags to Contacts based on store activity.
- Full technical support for multistore environments.
Additionally, the integration is supported by Storefront, which allows for rapid rendering of a modern store interface and intuitive management via a visual content editor.
2. Plugin installation
1. Log in to your Panel administracyjny Shoper.
You can find detailed information on accessing your account in the official platform documentation: Jak zalogować się do Panelu administracyjnego sklepu?
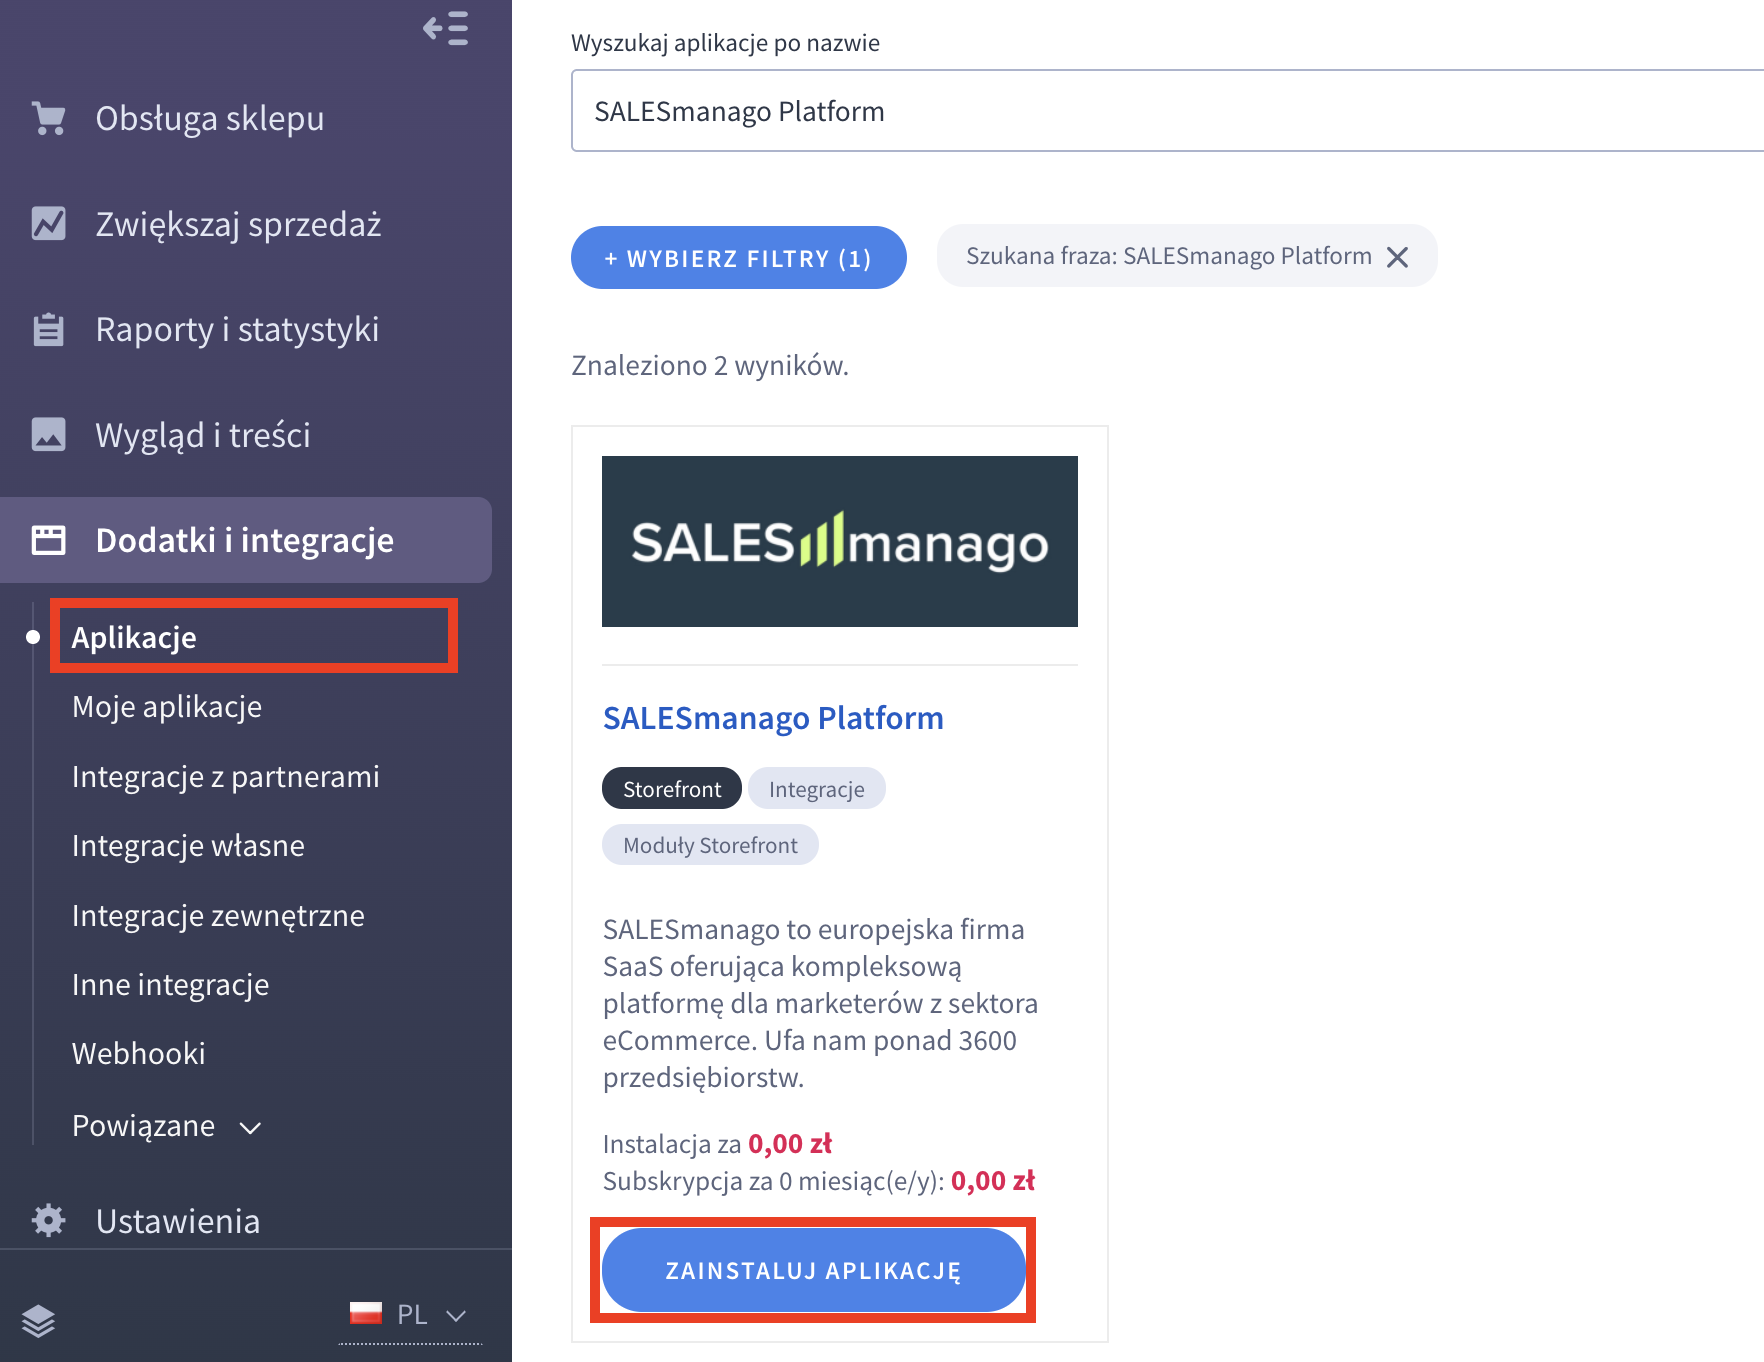
2. Navigate to the menu section: Dodatki i integracje > Aplikacje.
Search for SALESmanago Platform in the list and click: ZAINSTALUJ APLIKACJĘ.
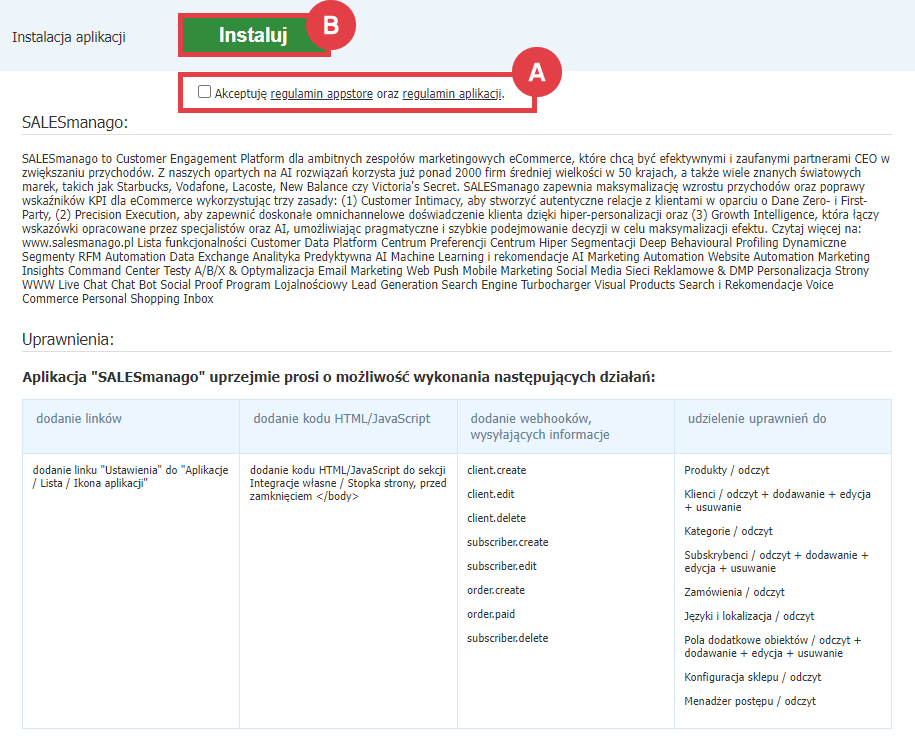
3. Review the application description and App Store regulations. Select the checkbox Akceptuję regulamin appstore oraz regulamin aplikacji (A) and click: Instaluj (B).
4. After installation, you can find the app in: Dodatki i integracje > Moje aplikacje.
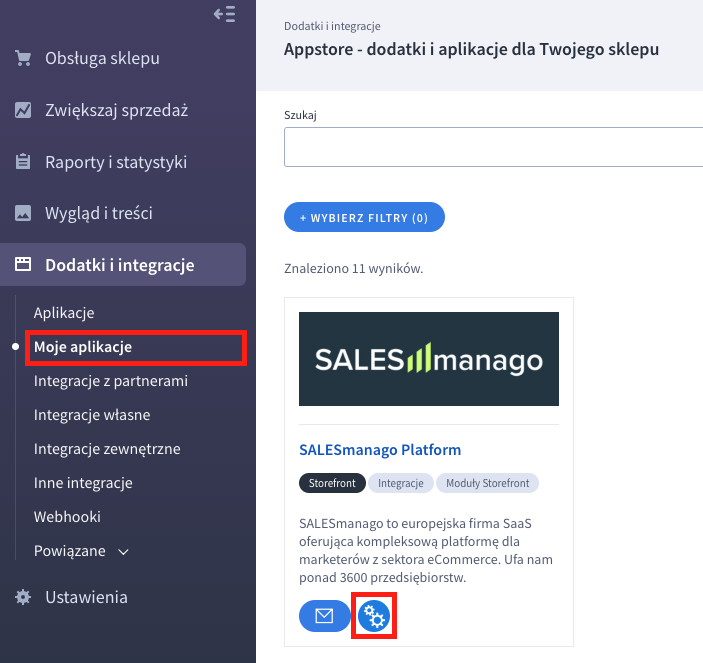
5. Click the configuration icon to access its settings.
3. Configuration description
Once you access the application settings, the SALESmanago login screen will be displayed.
- Existing account: Log in using your SALESmanago credentials.
- New account: You can use the link Skorzystaj z darmowego okresu próbnego! below the login form to create a new account.
The configuration interface is divided into two main sections: Ustawienia integracji and Ustawienia Shoper.
Integration settings tab
The Ustawienia integracji tab contains parameters necessary to configure the connection between Shoper and your SALESmanago account.
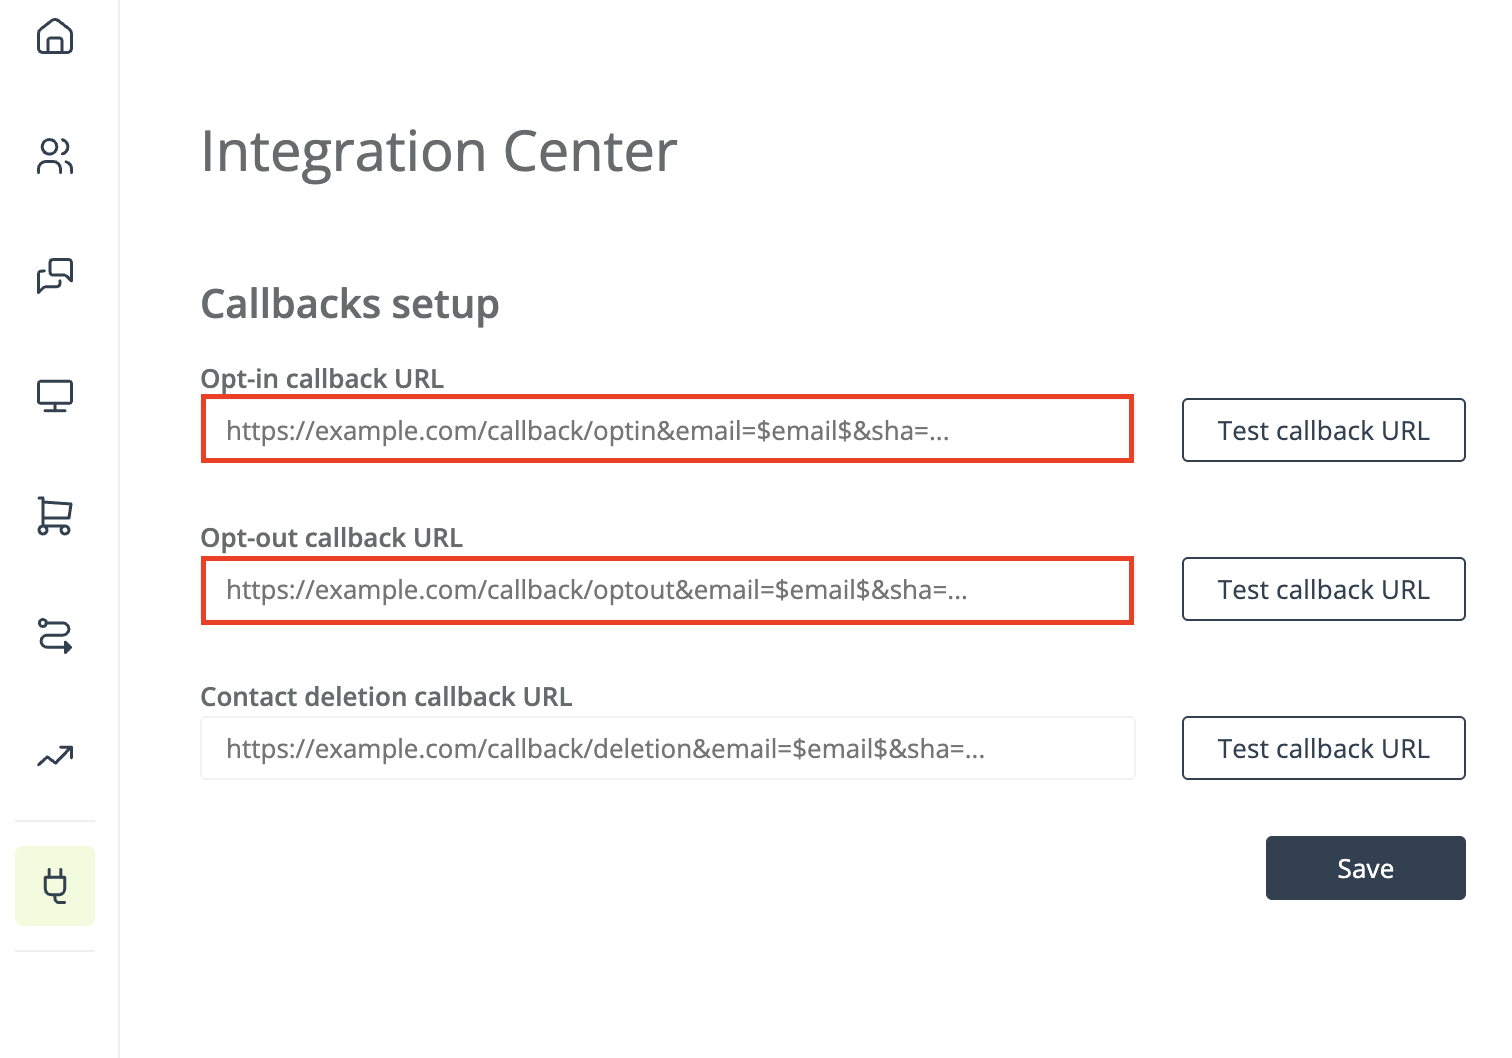
Callback addresses for Opt-in and Opt-out
This section allows for bi-directional synchronization of subscription statuses.
- NOTE: If a subscription status is changed manually in SALESmanago, the change will be automatically reflected in the Shoper store.
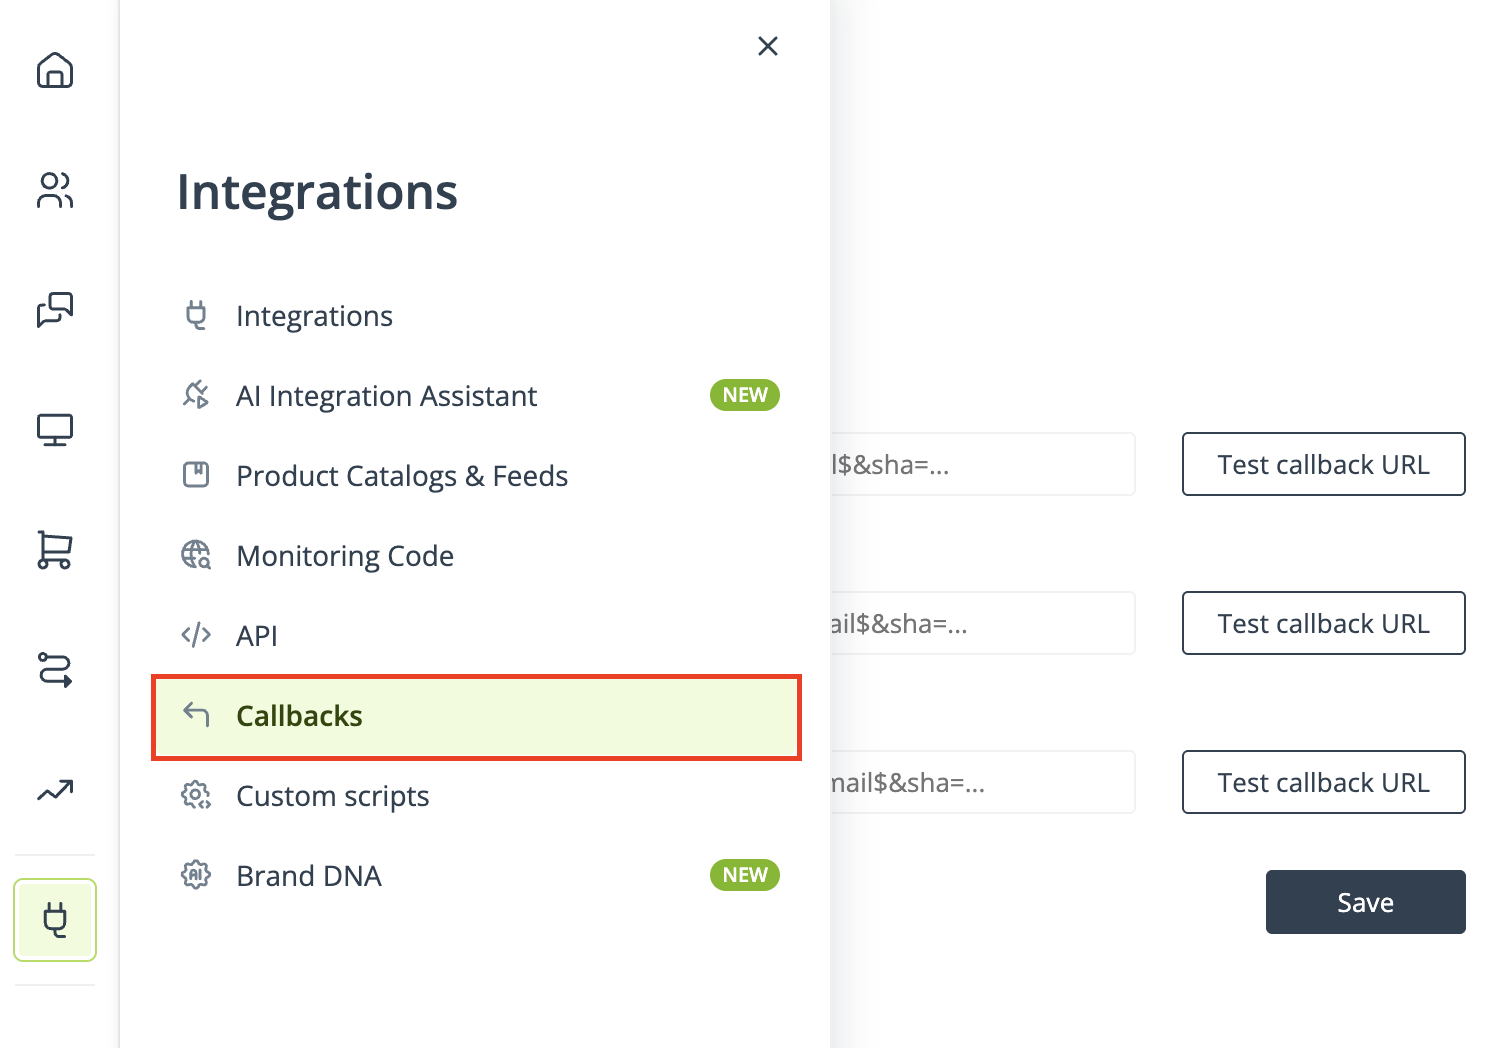
- Copy the generated links and paste them into SALESmanago by going to: Integrations > Callbacks.
SALESmanago Integration Data
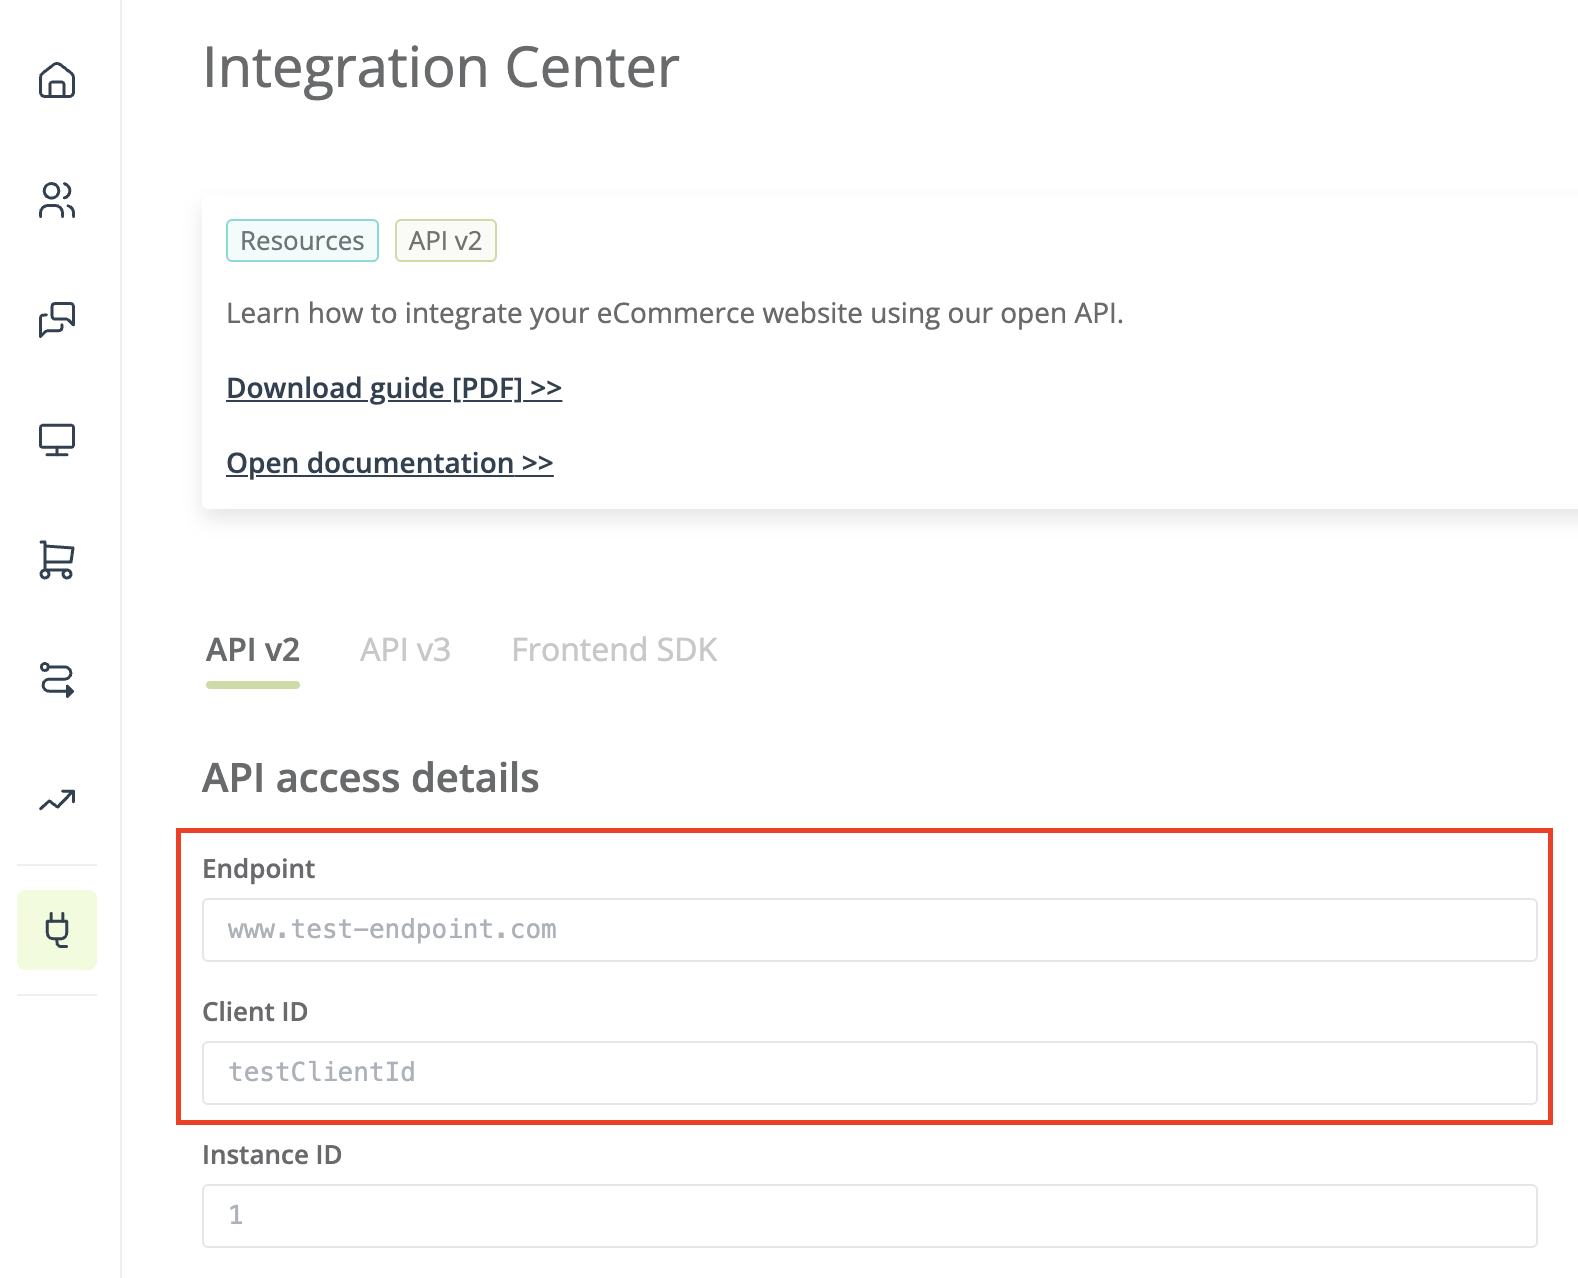
Most fields in this section are filled automatically:
- ID Klienta: Your unique account identifier, found in SALESmanago under Integrations > API.
- Endpoint: Indicates the location of your account, also found under Integrations > API.
- ID sklepu (pole Location): This is the identifier sent in External Events as the Location value.
IMPORTANT: The same number must be entered in SALESmanago in the Location field when adding an XML Product Feed (under Integrations > Product Catalogs and Feeds) or when adding a Product Catalog via API.
- Właściciel Kontaktów: Determines which user in SALESmanago new Contacts will be assigned to. You can manage users in SALESmanago under Settings > Account > Users.
Shoper settings tab
The Ustawienia Shoper tab allows you to define how the system interprets user behavior on the site.
CART Event Expiration (Czas wygaśnięcia zdarzenia KOSZYK)
When a product is added to the cart, the system generates a CART event and an SM_EVENT cookie.
- For a defined duration (e.g., 12h), any further activity in the cart updates the existing event.
- Once the time expires, the cookie is deleted. Any subsequent activity will be treated as a new session, creating a new CART event.
Ignored Email Domains (Ignorowane domeny email)
You can enter email domains that should not be transferred to SALESmanago, separated by commas (e.g., domain.pl, other-domain.com).
Tags Assigned to Contacts (Tagi przypisywane do Kontaktów)
Set Tags that will be automatically assigned to Contacts based on their actions:
- Tagi przypisywane przy rejestracji: Assigned upon account creation.
- Tagi przypisywane przy zapisie do newslettera: Assigned after filling out a newsletter form.
- Tagi przypisywane przy zakupie: Assigned to logged-in customers after a purchase.
- Tagi przypisywane przy zakupie bez rejestracji: Used to mark guest shoppers.
IMPORTANT: In the top menu bar, you will find the Dezaktywuj wtyczkę button. If clicked, the application remains installed but becomes inactive. This stops all data synchronization and the Monitoring Code will cease to function.